Microsoft SIP Gateway: ATA Support

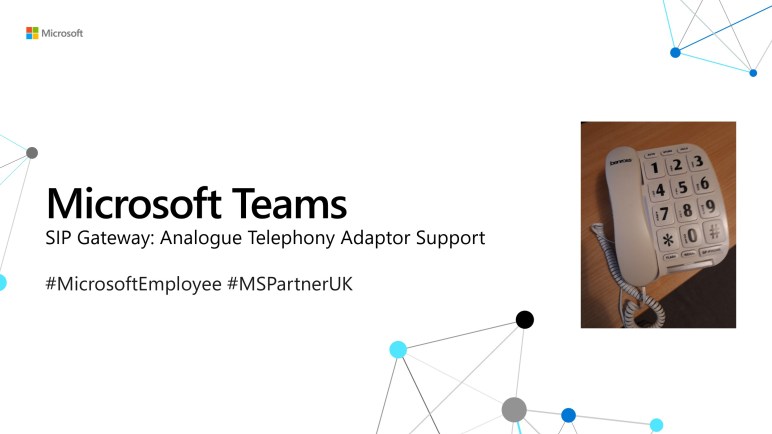
At the time of writing (February 2023), SIP Gateway support for Analogue Telephony Adapters (ATAs) is in public preview. After the feature is launched you should check the documentation for any updates or changes. The video posted below is a short overview of the main steps needed to register an analogue phone to Microsoft Teams via an ATA. It is currently anticipated that AudioCodes, Cisco and Poly ATAs will be compatible with Sip Gateway.

Microsoft engineering is investigating how to support bulk installations. Look out for additional details when ATA support goes to GA.


Since I posted the video, replacing the caller ID with a Service Number has been superseded by assignment of a Resource Account. See the screenshot below. Service Number support for CLID policies will be depreciated.

#MicrosoftEmployee #MSPartnerUK

Using Microsoft Teams and Bookings to enable Virtual Appointments


One side effect of the Covid-19 pandemic is that a huge amount of customer interactions in businesses and society have moved online. Assuming the technology holds up, I expect there to a place moving forward for virtual appointments across a whole diverse range of business types, ranging from healthcare to financial services.

Microsoft 365 Bookings is an application designed to help customers create and manage virtual appointments using Microsoft Teams. It comes in two flavours, a web portal and a Microsoft Teams application experience. The Teams App provides a sub set of the functionality that’s exposed in the web interface but is a great tool to use for the scheduling experience.

Any change made in either Teams or the Web is reflected in the other interface. As you might expect the Staff and Calendar components are tightly integrated into AAD and Exchange respectively.

I recently created this overview for one of the engagements I’ve been working on. Hopefully it will be of interest:

To learn more about Microsoft Bookings, check out the documentation.

Automating Microsoft Teams Creation


A couple of the common questions that IT Pros raise when they are new to Microsoft Teams is, “how do I control Teams sprawl and how can I put some Governance controls into the Teams creation process”?

There are a lots of tools at an administrator’s disposal to answer both these questions, but one approach I personally like is to have some form of automated process to manage Microsoft Teams creation.

Over the last last couple of years I’ve delivered numerous training events on this topic. One of my favourite pieces of work is a lab in which Partners use a combination of a SharePoint list, the Power Platform and Graph API to build an automated process for Microsoft Teams creation. My latest iteration of the lab has been around for over a year and I’ve finally got around to creating a video demo. Check it out below:

If you want to have a crack at building this demonstration, you can download the lab guide from here – Lab Guide Download.

As I mentioned this piece of work is over 12 months old now, if I ever have some time to update it I would replace the SharePoint classification label with a Sensitivity label. One of the benefits of the new modern label is that you can also use it to control Guest Access.

My Teams Security Slide


One of the things that I personally like about Microsoft Teams from an architect’s perspective is that the service leverages existing Microsoft 365 and Azure AD security capabilities. From an Admin’s perspective, the security features available for other Microsoft 365 services such as EXO and SPO are, when relevant, directly applicable to Teams.

Having said this, if you are new to Microsoft Teams you might struggle to get your head around which of the myriad of available controls relate to Teams and whether they fall under the Microsoft 365 or Azure AD administrative umbrellas. To try and help with this I recently created the diagram below to try and position a lot of the “bells and whistles” you might want to consider for a Teams security posture. One point to note is that different customers (or parts of a business) will have different security requirements. But I use this chart as a bit of a cheat sheet to remind me of some of the main components that should/could be considered during the planning stages of a Teams implementation.

Note; As per the slide name this is a “sample” of the capabilities so may not be exhaustive but it works for me as a super high level overview.

Anyway, just thought I’d post this in case this was helpful. I’ll probably bring some of the features mentioned above to life by way of some video demos in future posts.

Managing Direct Routing Voice Quality for Microsoft Teams


For customers that need to manage their own on-net voice quality for Microsoft Teams, Direct Routing offers an option for Local Media Optimisation (LMO). The overarching principle is that by determining an end user’s location, when on the corporate network, the system will allow the voice path to be negotiated between the Teams client and the internal IP address of one of the customer’s (certified) SBCs. Hence, keeping the media within the customer’s domain, which allows QoS to be applied and honoured for PSTN calls.

Users who are roaming outside of the Enterprise network will establish a voice path with the public IP address of one of the corporate SBCs. Or via a Transport Relay Point if the customer’s security policy blocks direct inbound access to the SBCs.

Behind the scenes the Microsoft Teams platform uses a predefined virtual topology and “trusted IP addresses” to identify on a call by call basis whether the end user is either inside or outside of the corporate network. Depending on the location SIP X-MS headers will be used to tell the SBC where the Teams client is located.

This is an advanced configuration so I created the video demonstration below to help me explain the basic concepts. If this is a new area for you. I hope it helps!

For additional information, please check out the Microsoft documentation. After taking some time to review my video it should make for easier reading.

So what is the Microsoft Teams Meeting Lifecycle?


When the virtual Meeting Lifecycle concept was originally introduced it took me a while to get my head around how this would play out in real life. After going through my own personal learning curve a couple of years ago I’ve become a big fan.

Moving forward to 2020 I think it’s a perfect time to revisit this topic to ensure anyone using Microsoft Teams is taking full advantage of the “pre” and “post” meeting phases of the Lifecycle. Given the current state of the world a high proportion of meetings are now taking place online and I don’t think anyone wants to waste time during a call to handle tasks that could be dealt with offline and asynchronously.

One of the mantras I have is to try and keep remote meetings as short as possible and attempt to limit them to important interactions and decision making. If possible I try not to book back to back meetings. I expect most of us have experienced the machine gun meeting phenomenon and the subsequent stress of arriving late (and under prepared) for the next meeting. As a result I normally schedule 30-45 minute calls, which gives me some time to actually do some “in between” work and be punctual.

However, this is where the before and after sections of the Microsoft Teams Lifecycle come into their own. To be able to keep my meetings as short as possible, when appropriate, I will do some initial collaborative preparation and post real-time wrap up.

Once you get use to this way of working it’s really productive but new users may need help with the “Art of the Possible”. So I decided to create some videos that I use to demo the Lifecycle. In case it helps, I’ve shared one of them below: